|
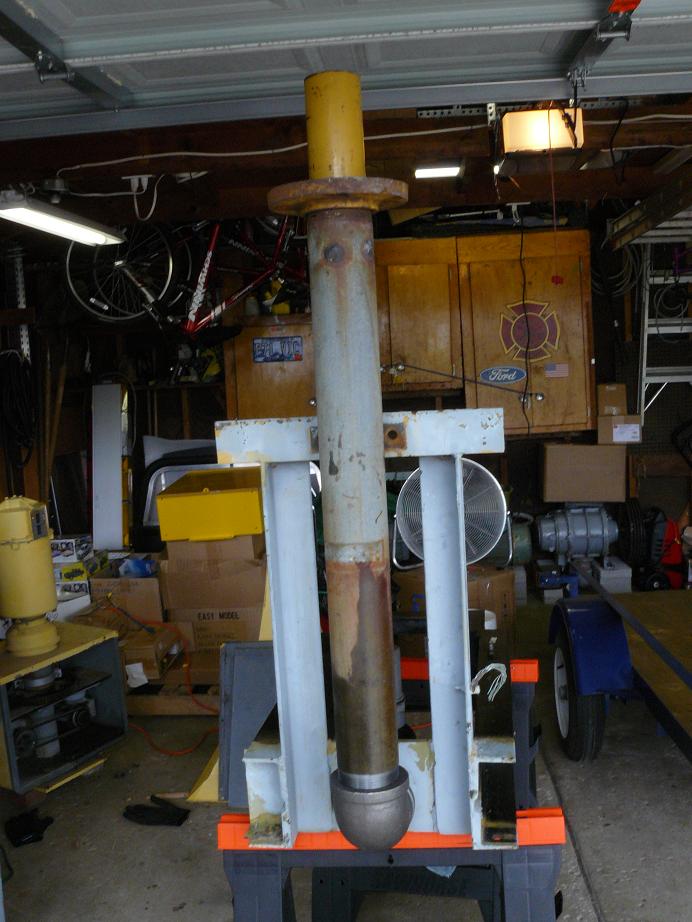
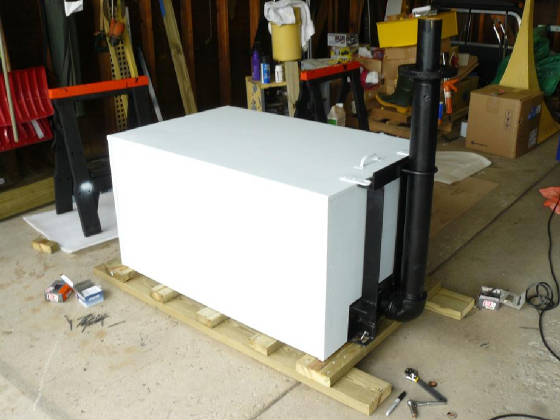
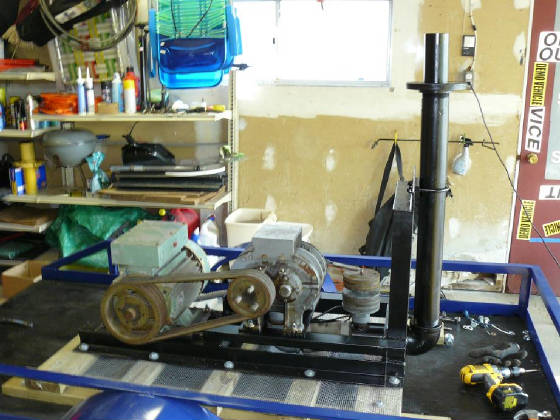
New 90 Degree Elbow, New threaded standpipe.
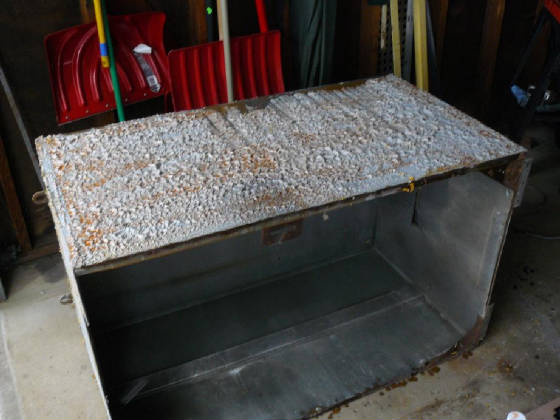
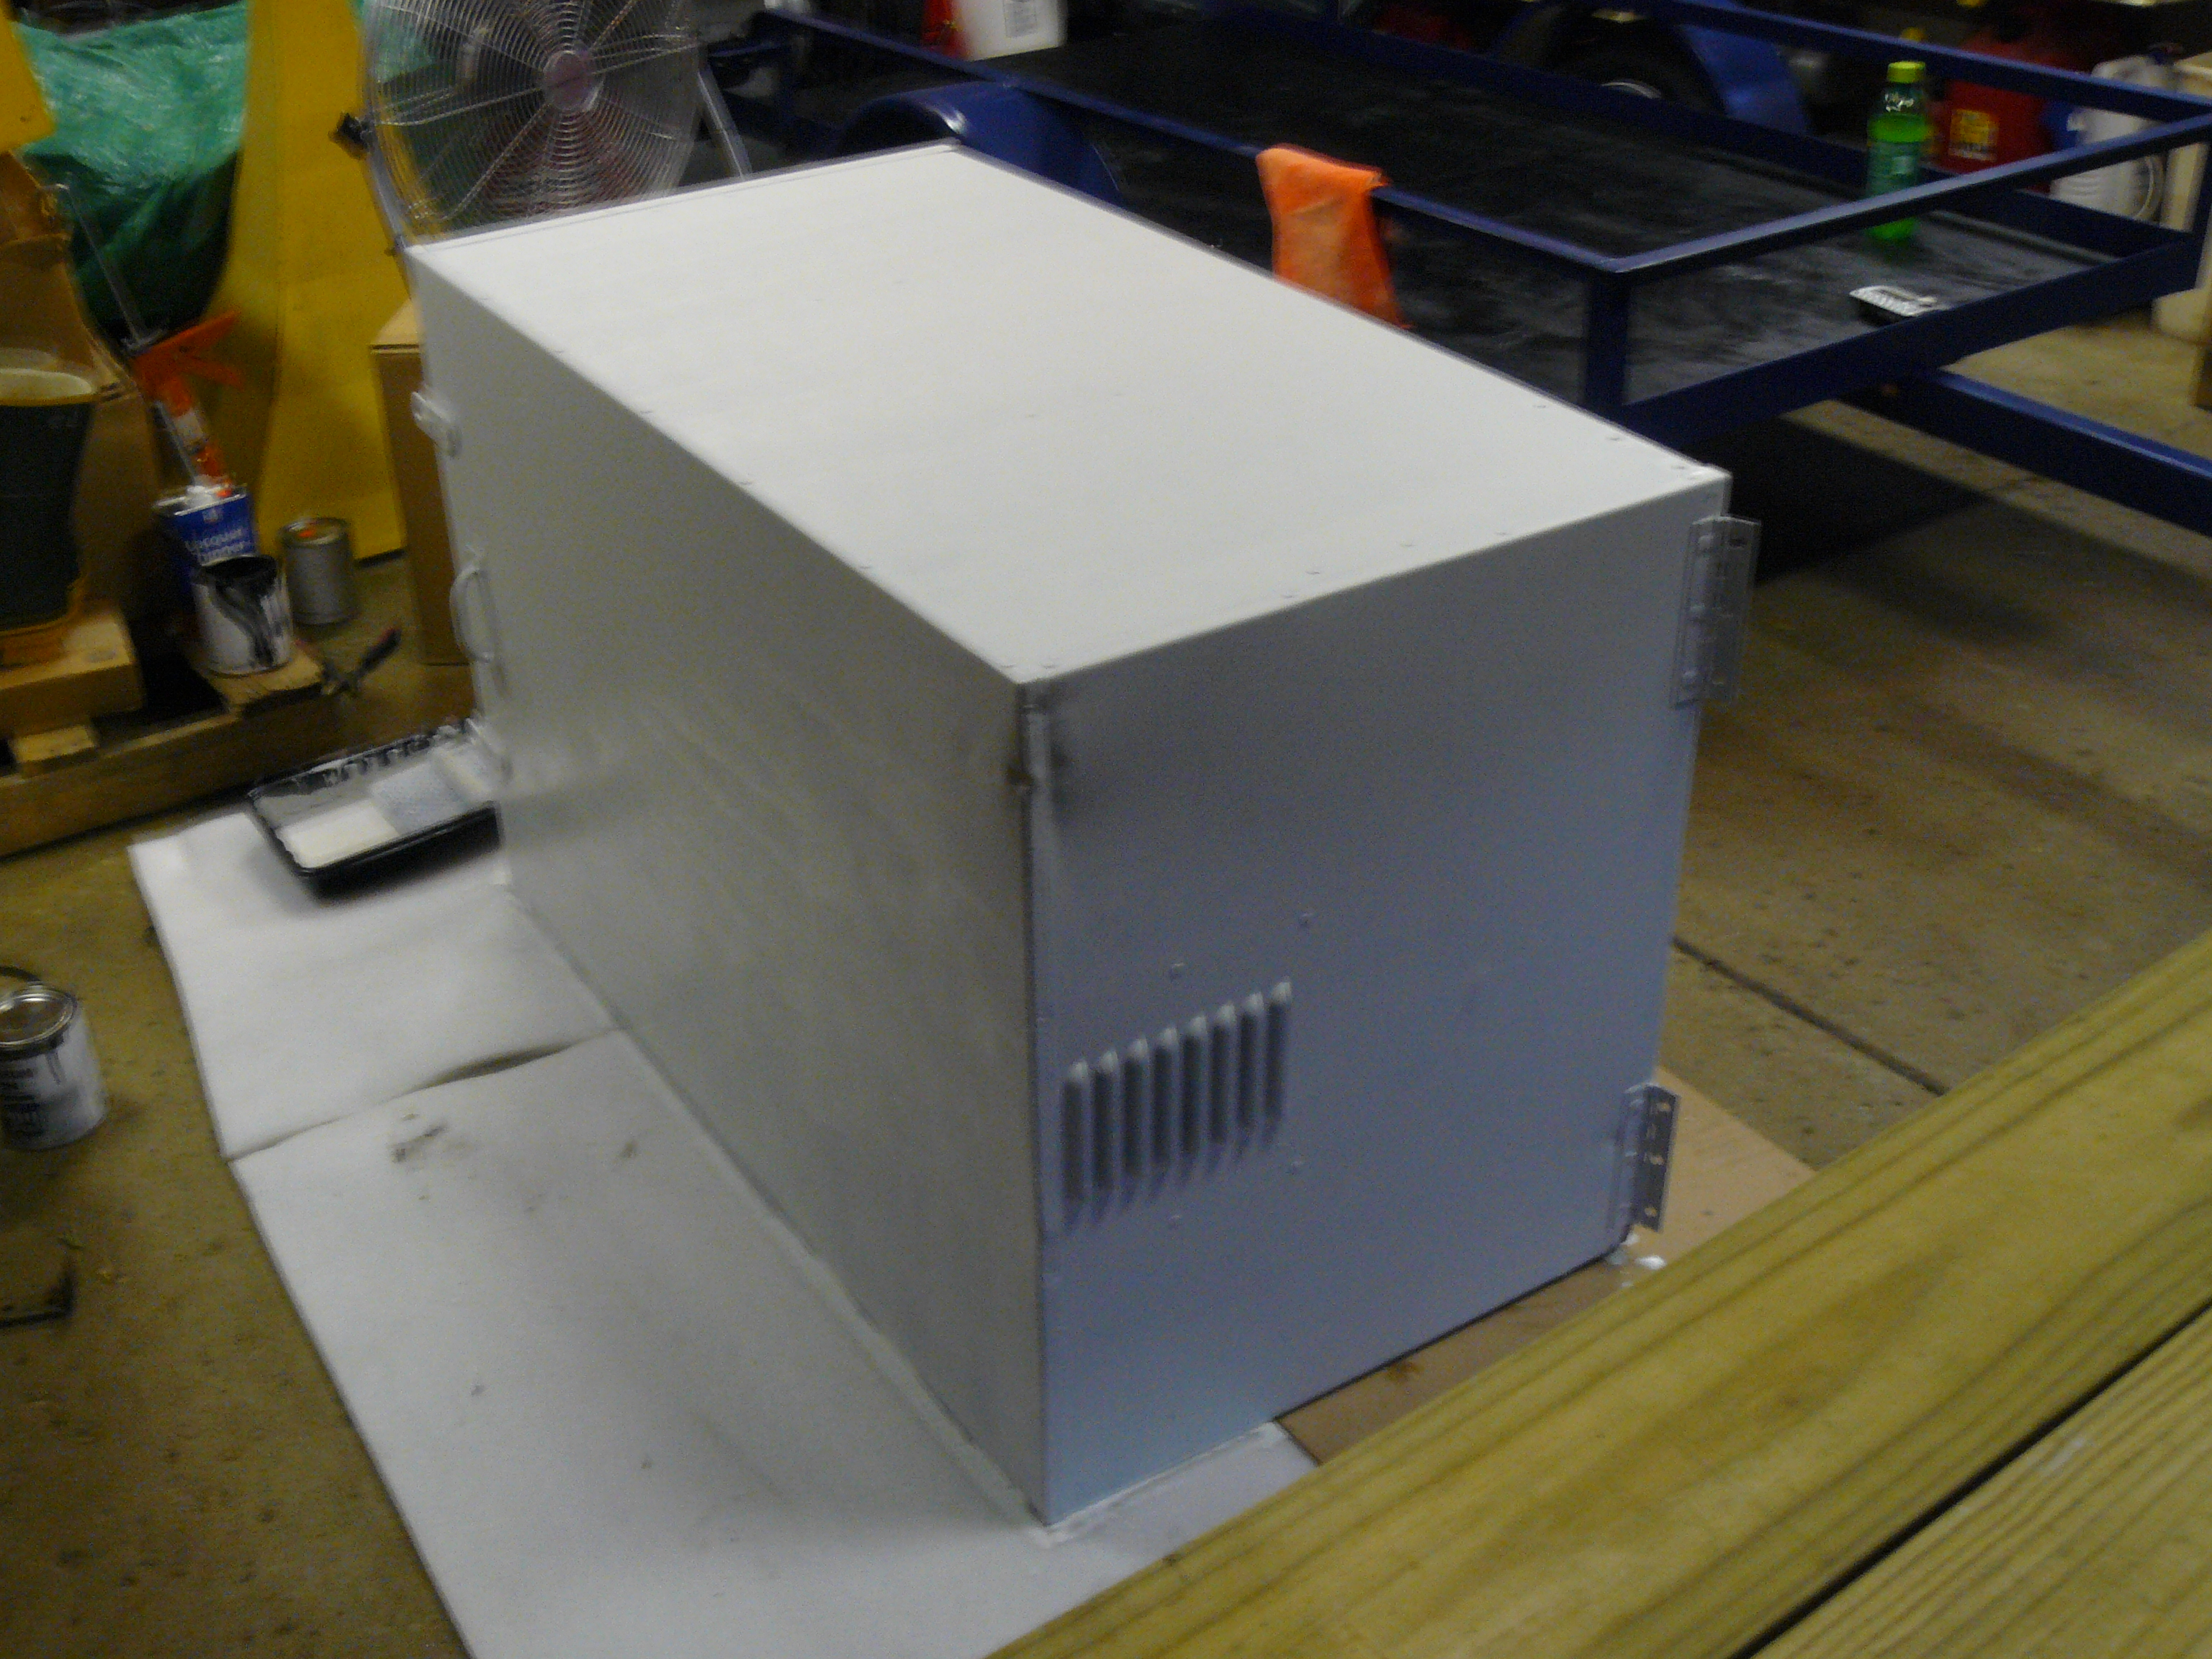
You can see the original color of the
cabinet in the background. It was painted a light grey color.
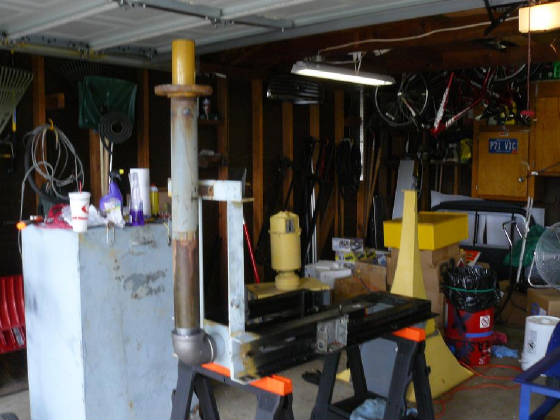
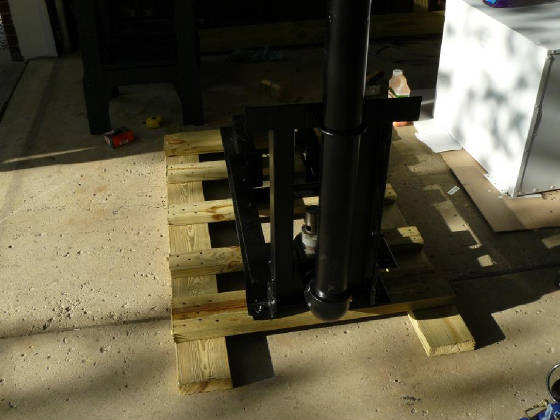
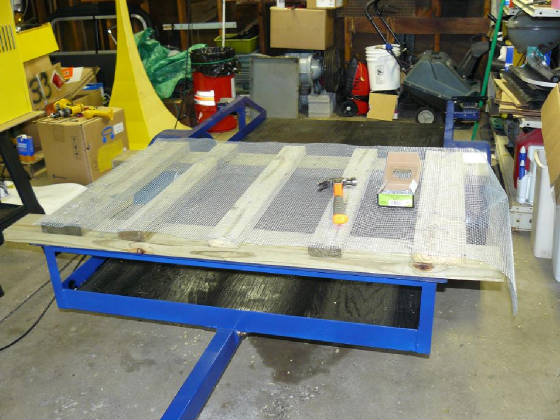
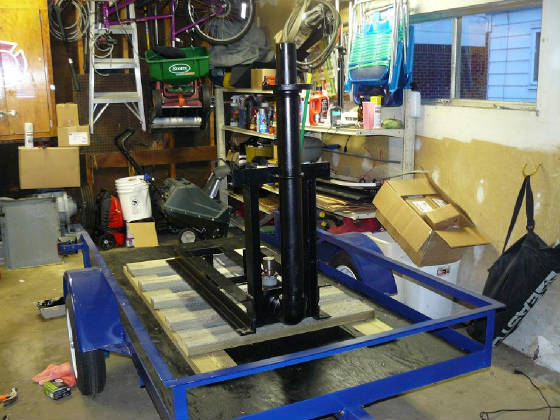
After making a new pallet from the measurements I took
before I took the old pallet apart. I painted the rack and standpipe black.
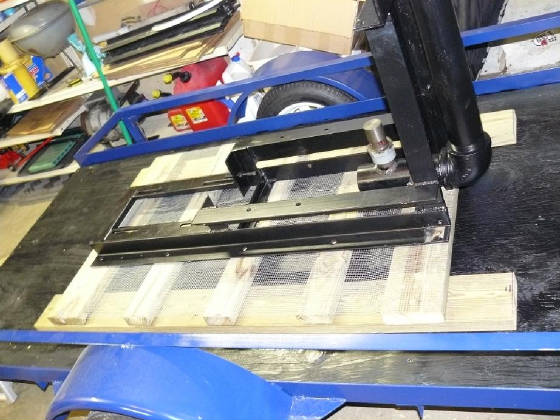
I took a sample of the origianl pallet mesh,
I found the exact same mesh at my local Ace hardware.
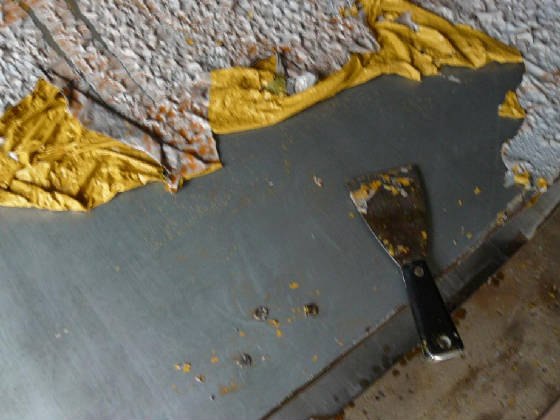
The compressor cover got a light coat of CitriStrip,
after an hour the paint looks like a deflated balloon.
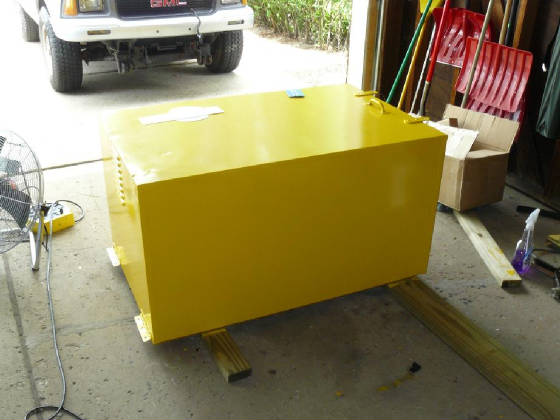
As I scrapped the paint off, you can see the original
color of the cabinet, Caterpillar Yellow
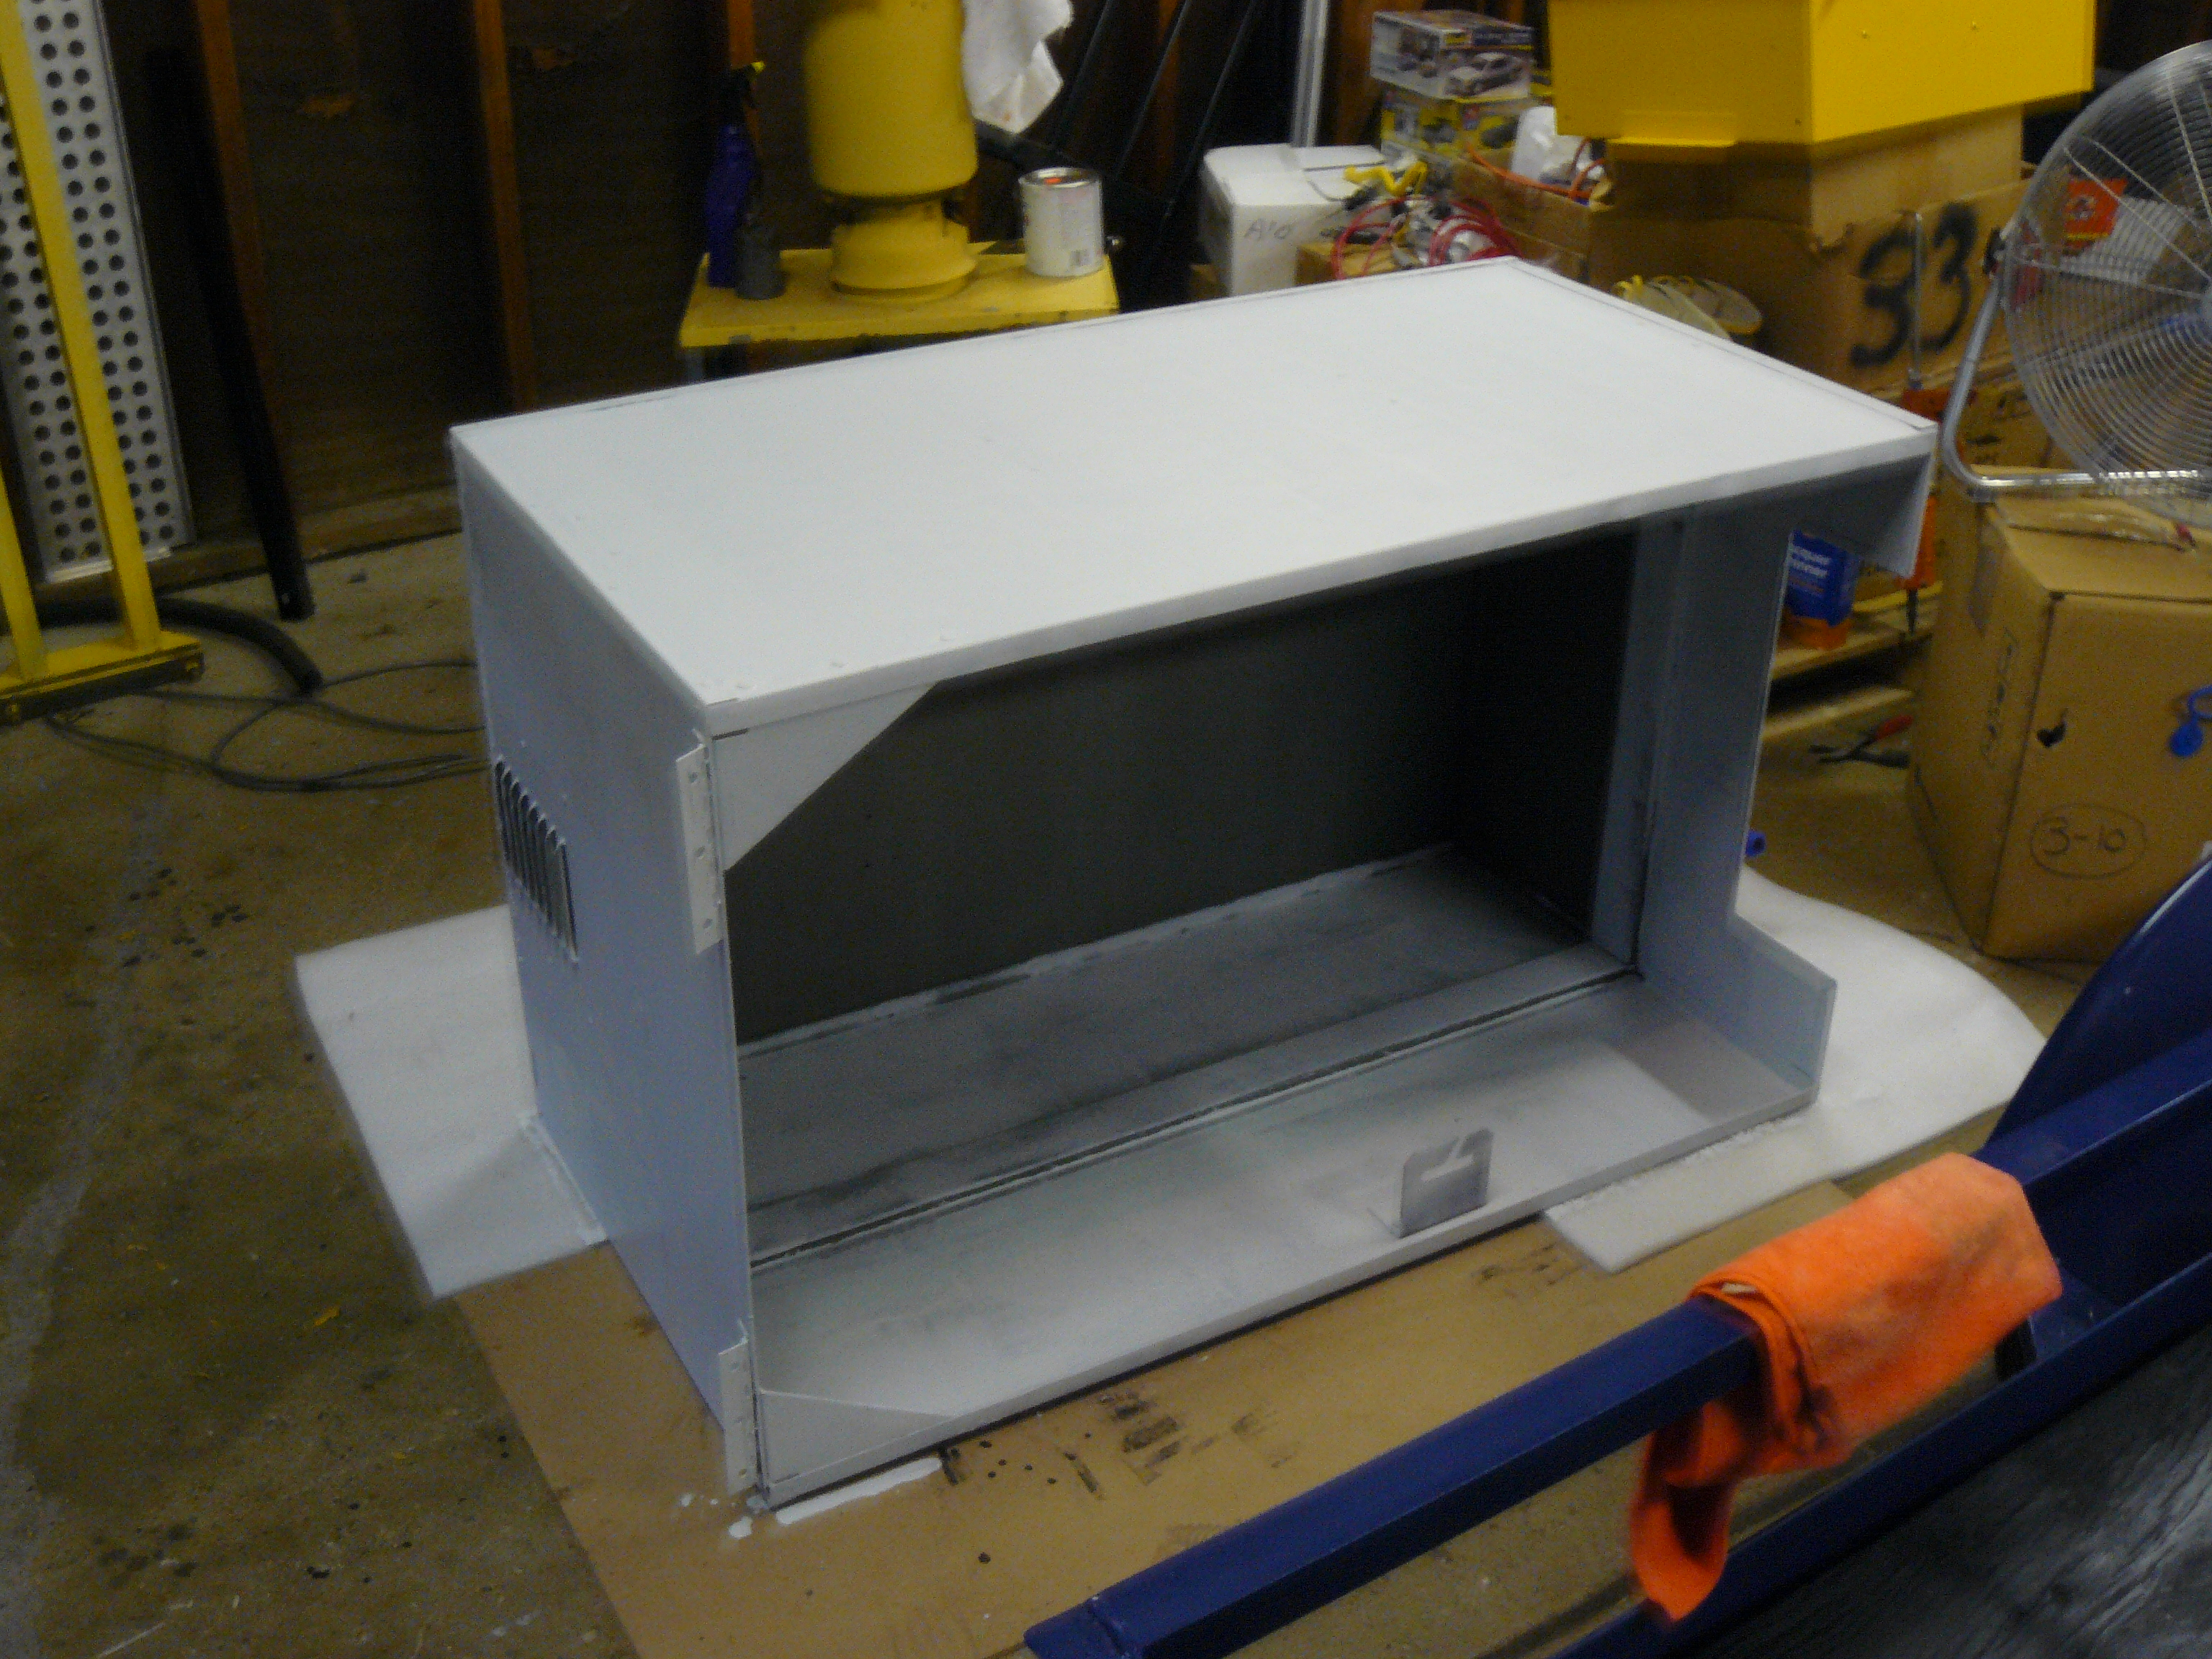
First coat of primer
After a 2nd coat of primer, here's the dry fit
and adjusting of the cover and rack on the pallet
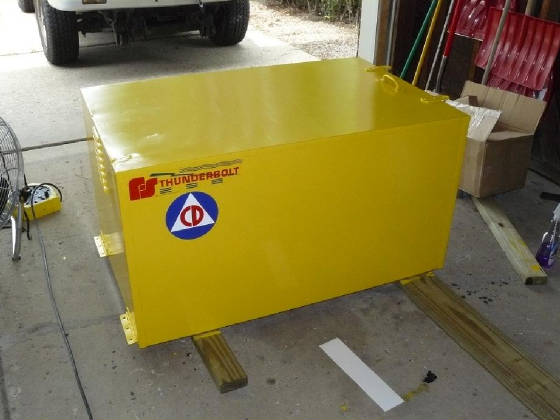
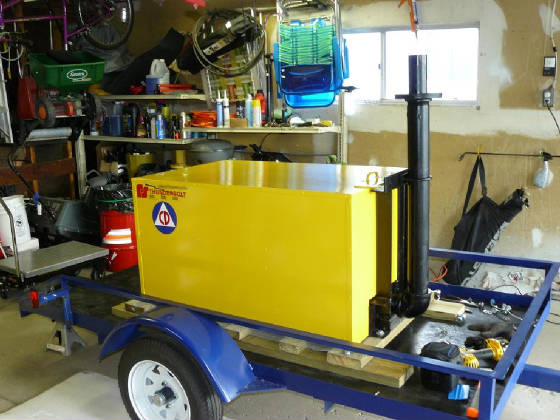
Here's the cabinet after two coats of yellow
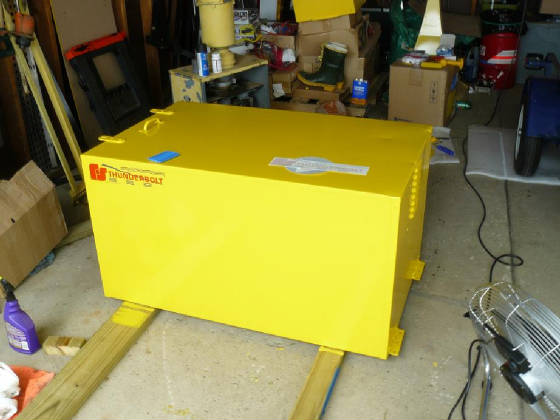
Putting on the "FS THUNDERBOLT" decal.
I have seen these decals place as shown to the left, also seen to the right, and in Redford Twsp in the center, I choose the
left, since that's what was most common.
Also added the "CD" logo
Attaching the rack and pallet to the trailer I got
for the siren
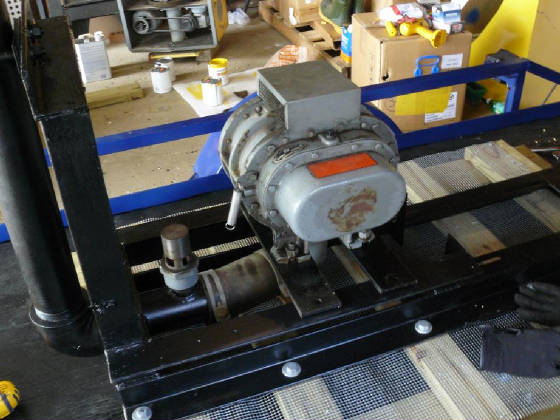
reattaching the compressor. since these are very cumbersome,
I will clean the grease of the unit while attached to the rack
Now attached is the signal phase 220 volt motor. Belts
are in good shape. just need a quick cleaning.
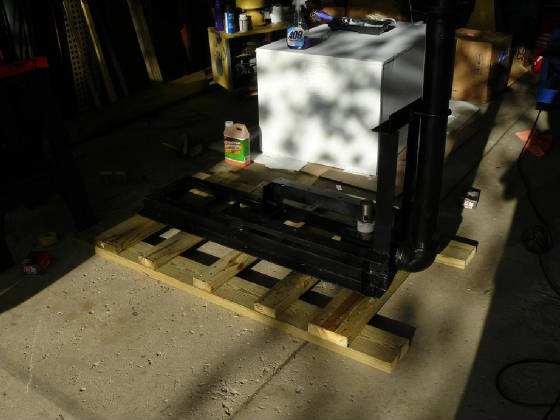
Here's the compressor cabinet attached to the pallet.
Thunderbolt Final Assembly
|